Showing posts with label wood. Show all posts

Monday, February 27, 2012

Mini Wreath Stand

I made this mini wreath holder from supplies I had on hand.
I used a 1" square dowel, a round base, a finial and a small hook.
I screwed the base to the dowel, screwed finial to the top of the dowel and then added my hook. The wreath holder is 15" tall.
I spray painted the whole thing and then sanded it. So easy and love how it turned out. Goes perfect on my little table.


Linking to: Lil Luna, oopsey daisy, Uncommon Designs, craft-o-maniac,
skip to my lou

Wednesday, November 16, 2011

Family Birthdays

I have started making Christmas gifts, crazy, I know, but I want to be done early to enjoy the Holiday Season, and not feel crazy and stressed. I made this birthday board for my husband's mom.
I made a tag for each month of the year and then hung the smaller wood tags with the person's birthday and their name. I hung the tags with jump rings. I used small nails to hook the top jump ring to. I found the wood tags at Hobby Lobby, painted and stenciled them, sanded them to give them a rustic look. I punched the holes with my cropodile.

I love how it turned out. I think it will be great for her to keep track of every one's birthday.
Have a great weekend!!


Linking to:

lil luna link party button

Wednesday, November 9, 2011

Crafting with the Craft Critters/Christmas Presents 4x4 Style

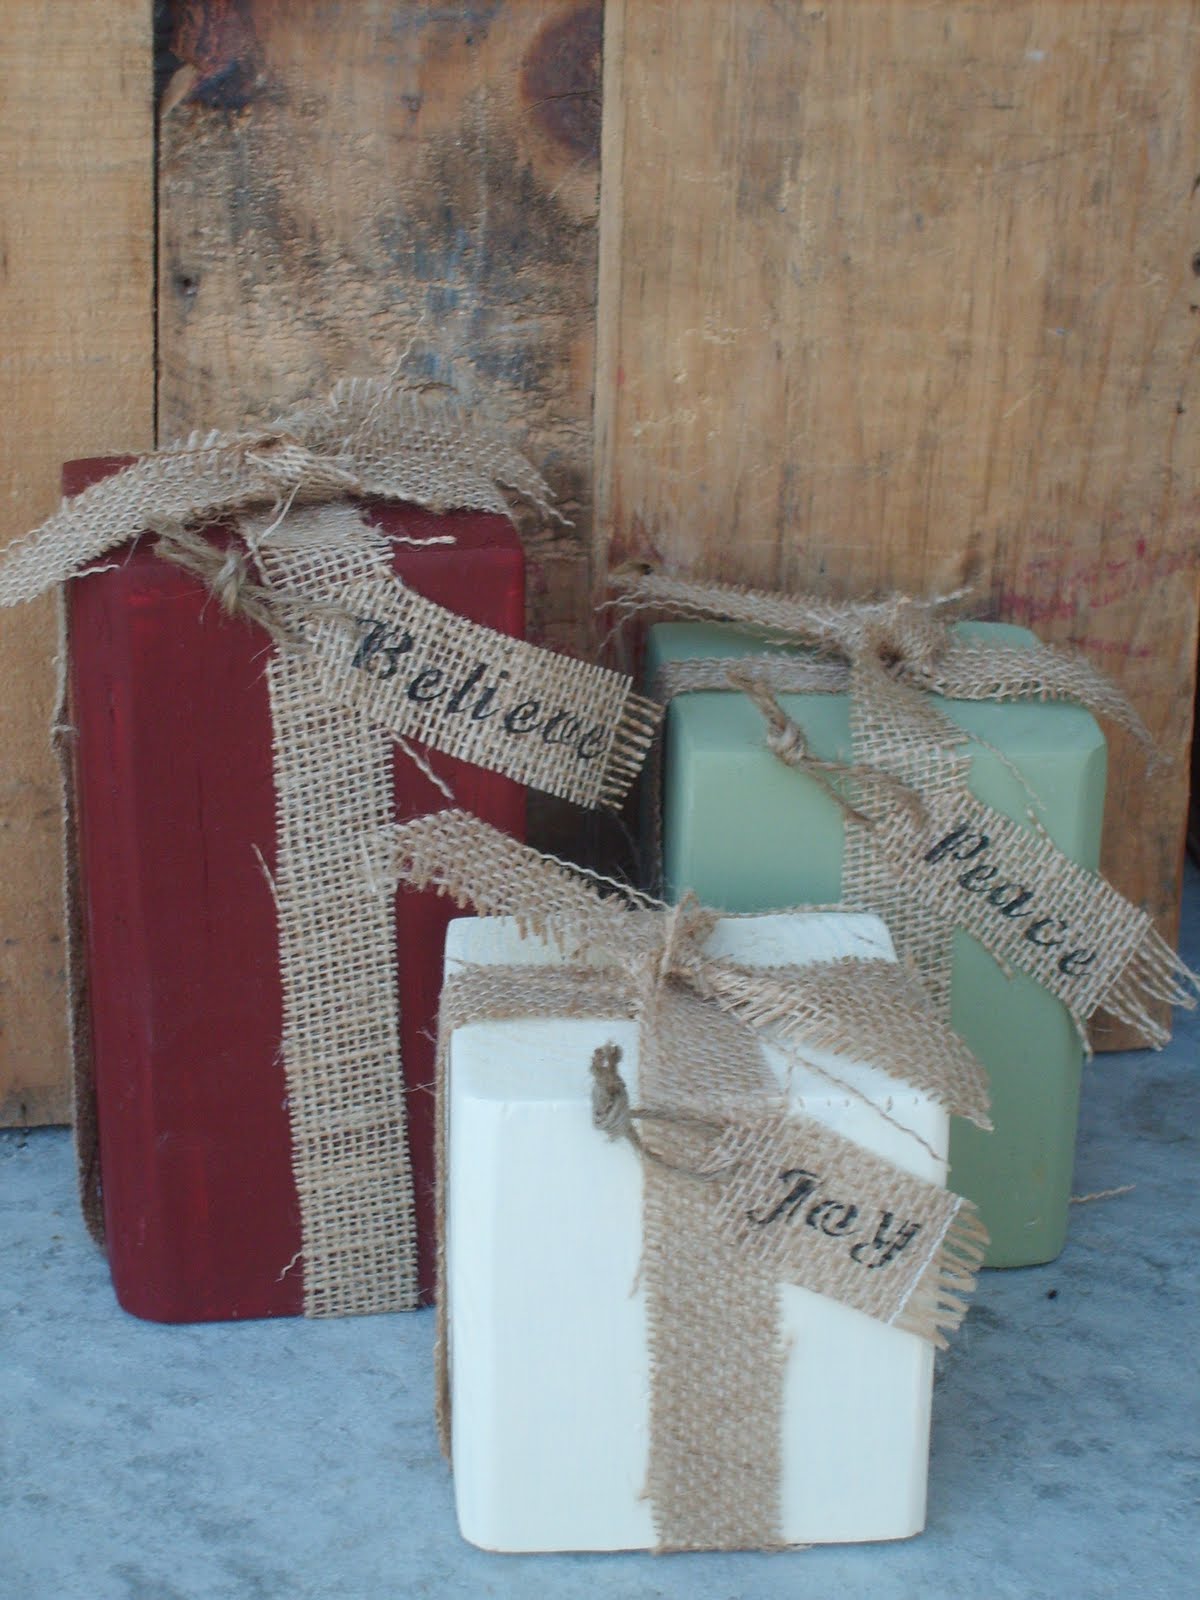
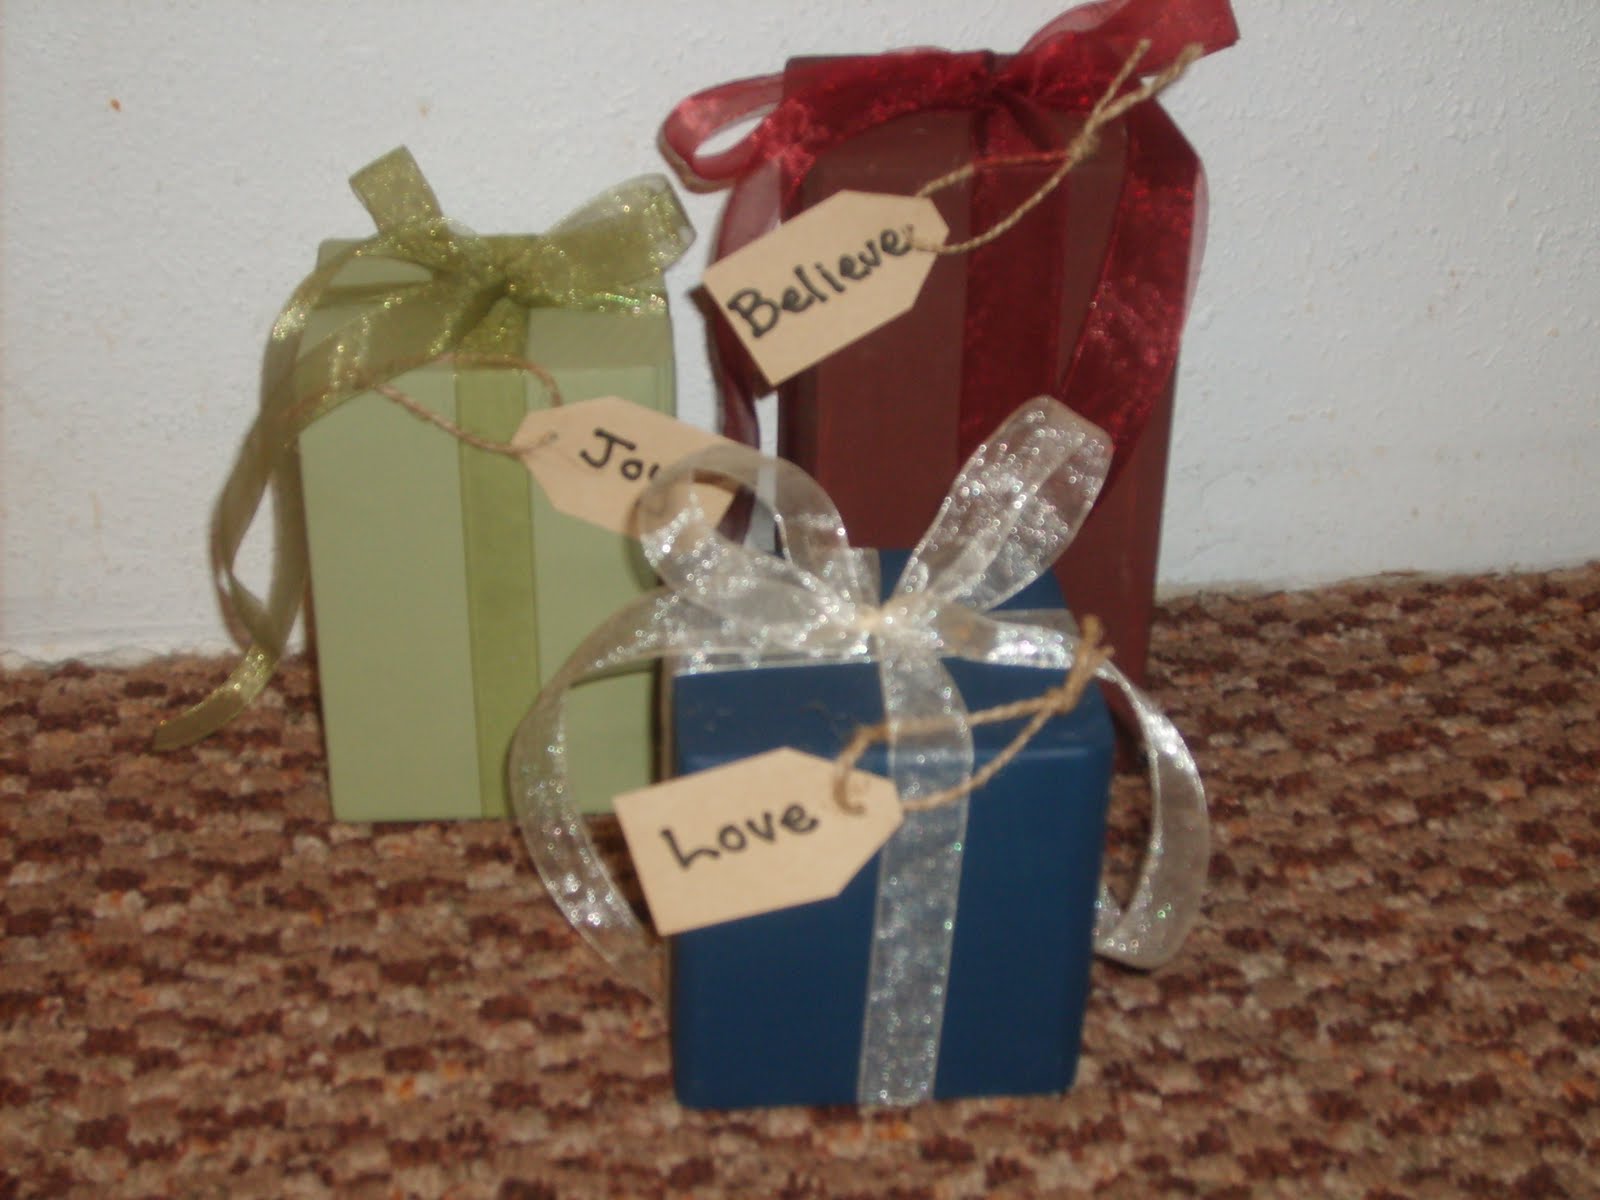
I went to visit my family this past weekend, and while I was there my two sister-in-laws and I made these cute 4x4 Christmas presents. Meleese and Cherie are also Craft Critter contributors. I made this set (actually several) that I will be selling at a boutique. I love the burlap.


This set was made by Meleese.


I made this set. Love the grey and blue, not your traditional Christmas colors, but I love it.


This set was made by Cherie.


We had fun making them together. And I think they all turned out great!


Linking to:

lil luna link party button
Somewhat Simple


Monday, July 4, 2011

Decorated Porch

I went to parents house for a week, and while we were there we (meaning lots of family members) cleaned off my parents porch and Meleese - my sis-in-law (who also is a craft critter) and I decorated my mom's porch. While cleaning the porch I took the box that you see and put it in the junk pile. Later I asked my mom if she wanted her porch decorated and if she did I would use the old box. The box had peeled paint all over it so I sanded it and was going to paint it white, but Meleese suggested just doing a paint wash on the box to give it a more rustic look. Meleese took green paint dumped it on a damp rag and wiped it all over the box. My mom has several old milk cans, so we just grabbed one and put on the porch and added some flowers. The crate was going to be thrown away and my mom asked if I wanted it, which I did. But we used it on the porch instead, which by the way I was totally o.k. with. Meleese stained the crate with a walnut stain. Meelese found the old bottle laying around and stuck it inside the crate. While we were at my parents I was cutting a ton of wood my dad has laying around for my daughters boutique she is having to raise money for her student ambassador trip to Europe next summer. One of the items that we are making are the candle sticks, so I I just added those to the box. The candle sticks were also stained in the walnut stain and then I wrapped jute around the candle sticks. The old shovel came from my grandpa's house, and I made the bead board flag, which is another item my daughter is selling at her boutique. We filled the old dented bucket with flowers. We are all so happy with the results. It's amazing what you can do with a little junk. The only cost to this project was the flowers and two plastic chairs.
My two boys sitting in the chairs enjoying the new decorated porch.

Tuesday, May 10, 2011

I Made This!


I am so excited how this turned out. It's not perfect, But I made it all by my little self.
I made this a year ago, but I am just now getting around to hanging it up ( which hubby had to help me with.)

I started out with 2-1x6x8
cut
1 at 37 1/2"
1 at 39 "    
2 at 20 "      
2 at 36 "    
6 at 27 "   
the top picture are the back boards
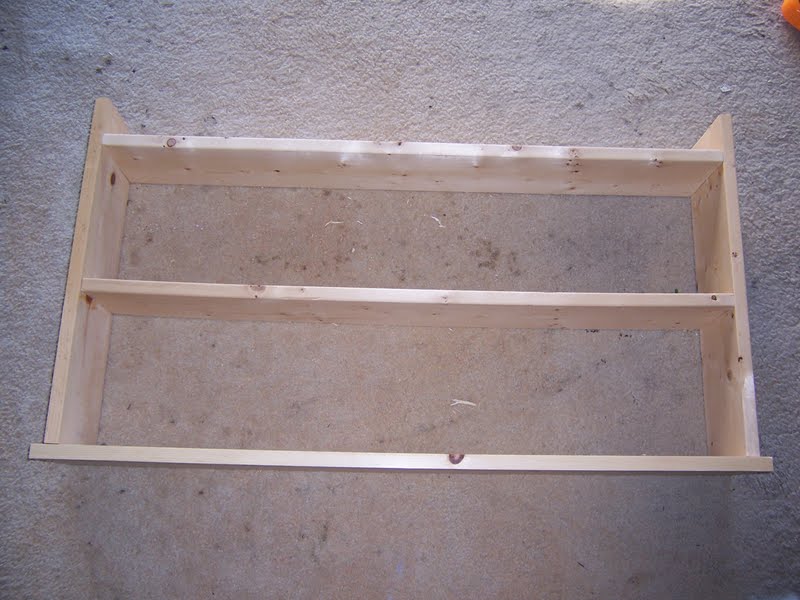
the picture below is the frame of the shelf 
20" on the side
top and middle shelf 36"
bottom shelf  37 1/2


Next put your 6 - 27" on the back and nail in place.
I trimmed the tops off of some of them diagonally to make a picket fence  look.
Then add the 37 1/2" on the bottom for pegs ( which I have not added yet.)
Clear as mud? Hope the pictures help.


My little helper


Paint and hang (  don't wait a year like I did ) :)
Cameo


Thursday, March 10, 2011

Young Women Theme Block

I have been a total slacker with the blog, but my personal life went a little crazy the last couple of weeks. But now my head is back on and in gear for more crafting. My daughter did this next craft at Young Women's last night and I wanted to share. They painted the block and mod podged the Young Women's theme to a 4x4 block and that's all they did, it was a little plain, so my daughter came home and added the ribbon and gems to the corners. I think it turned out really cute. The printable can be found here.
Linking to: lil luna link party button CraftOManiac Monday Sunday Scoop

Thursday, February 10, 2011

Interchangeable Phrase Blocks

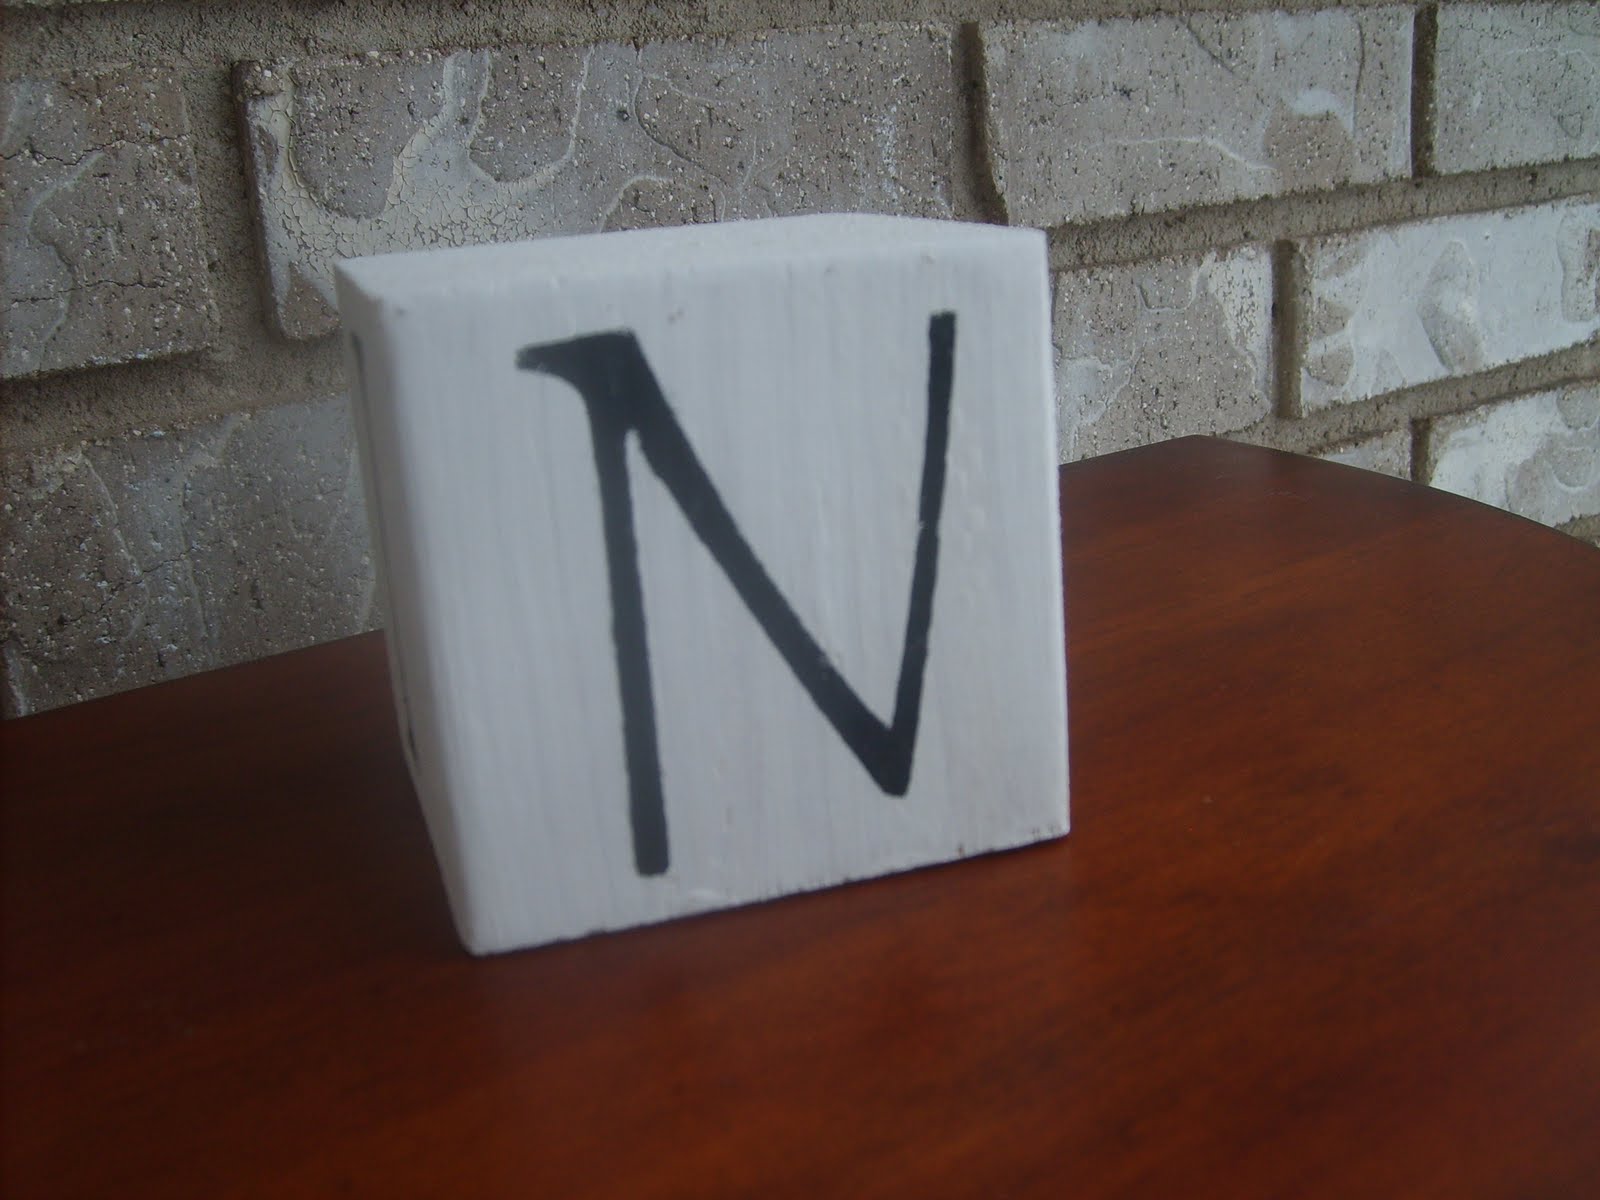
I'm not quite sure what to call these blocks, but whatever the name I think they are soooo cool. The blocks can be flipped around and can make over fifty different sayings. You need 15 wood blocks for this project. I sanded and painted all of the blocks. I then stenciled the blocks with black paint. There is a downloadable cheat sheet found here, that tells you what letter to put on each block and the blocks are numbered to make it easy to make the words. The cheat sheet also has all the different phrases the blocks can make. I also found that the blocks can say more than shown on the cheat sheet. BONUS!
I then took my sander and sanded the blocks giving them a more rustic look.
Now the blocks are ready to make fun phrases like this one. My littlest will be having a birthday in a couple of weeks, really excited to be able to display my blocks.
Since Valentines is Monday I thought I would show you how cute this one is, it actually can say "Valentines Day" plus the heart, but I don't have a space long enough for all of the blocks, since this phrase doesn't stack.
So I did this phrase for Valentines, it looks really cute on top of my hutch. I am so excited to be able to change the blocks as the seasons and holidays change.

Caleen
Linking to: Photobucket Skip to My Loulil luna link party button