Showing posts with label picture frames. Show all posts

Thursday, September 23, 2010

Halloween Countdown Variations

MORE HALLOWEEN COUNTDOWN . . .

In my last post I showed you this fun Halloween Countdown. I have been making more and making changes.

I added the cat and the spider to the glass.

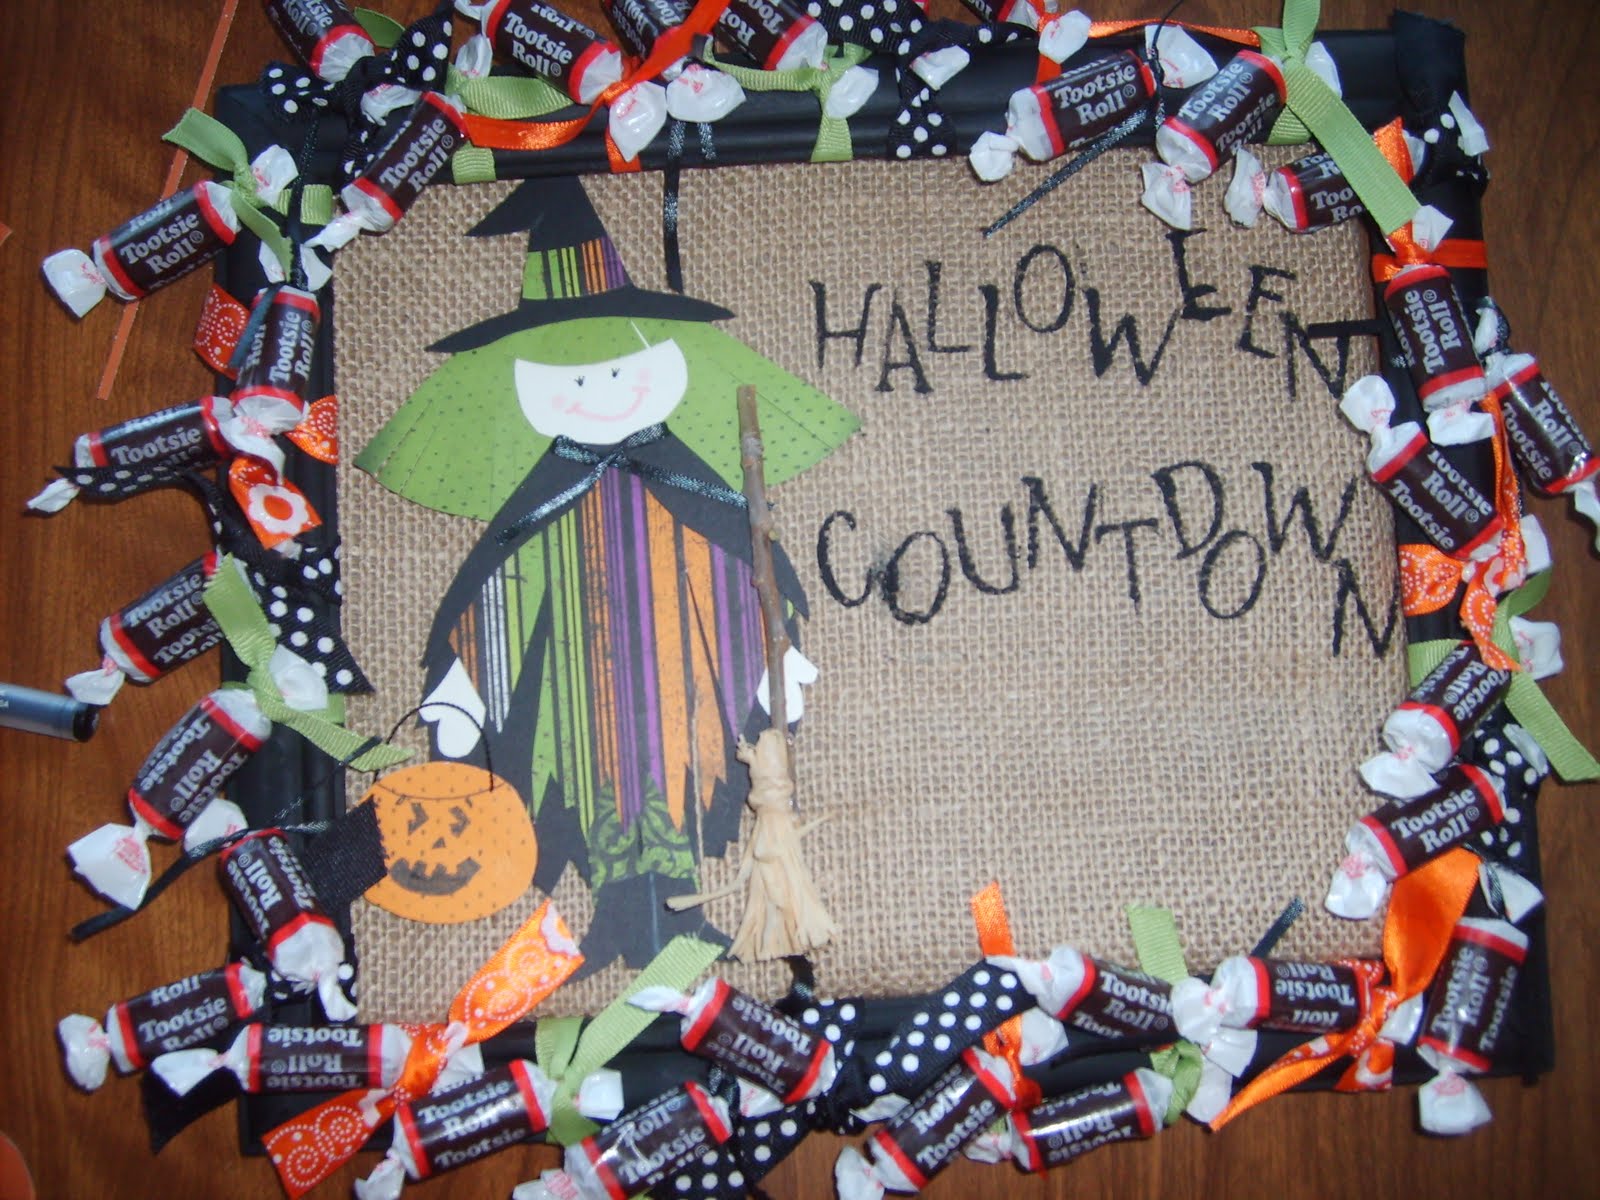
On this one I changed the frame to sit upright and added this cute little witch. I love the broom. I used a stick from my yard and raffia.

On this one I changed the font of the words and went back to the frame sitting long ways.

On this one I stenciled on burlap. And I didn't use my glass on this one, just wrapped the burlap around a piece of cardboard and inserted it in. Love how it looks.
I love how they can be changed around, you could do anything to these and they would be so cute. Cherie will show you how she did hers, love how she changed it also.

Wednesday, September 15, 2010

Creativity Class - Halloween Countdown

We have started our creativity class back up and this is the project we made for September. A Halloween Countdown - every day in the month of October a piece of candy can be eaten. I think the idea is so cute and it was a huge hit.

The witch was paper pieced and it so cute.
The candy is tied around the frame.

Such a cute and fun thing for Halloween.


Linking to:

Tuesday, August 31, 2010

Monogrammed Picture Frame

This was so easy to make. This one was an unplanned craft. Most of the crafts that I do, I have a vision and a plan. I bought the "W" awhile ago planning on using it for a different craft, but ended up using a bigger "W", so I had this one laying around and this is what I did with it. I really liked how it turned out.

I started with a 8x10 inch frame and painted it white.

I then took my "w" and painted it black.

I cut burlap to size and spray painted it burgundy.

Wrapped the burlap around a piece of cardboard, taped it and then put it into the frame. Glued the "W" to the burlap with my glue gun and there it is. So EASY!

Friday, August 27, 2010

old wood frame

This is a frame that Quivon made from old barn wood. He entered it in the county fair and got a blue ribbon.
Cherie

Tuesday, May 25, 2010

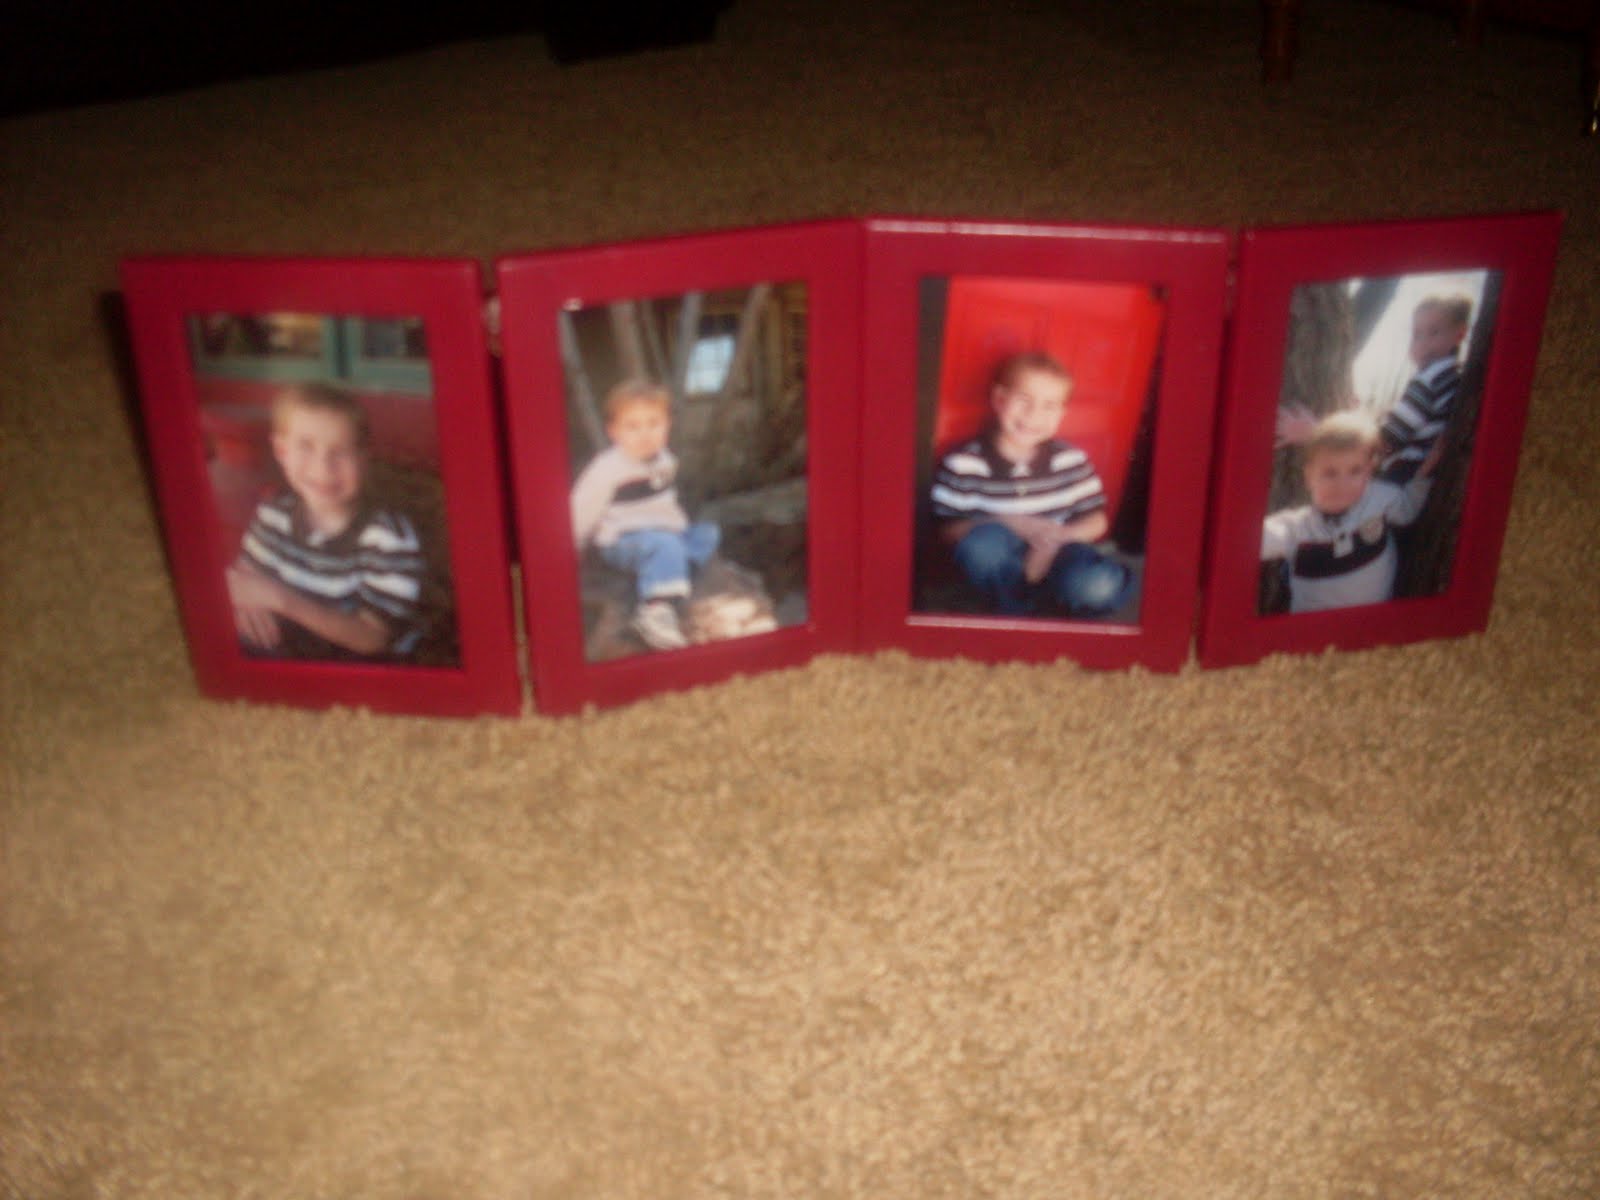
Hinged photo Frames

In yesterdays post I told you I would show you how I made this: I bought my frames from Target in the $ bin.
I took the frames apart and painted them.

Once they were dried, I took my drill and drilled holes to screw on the hinges. The hinges that I used are the same ones I use for scrap booking using brads. I went to Lowe's and bought the smallest screws I could find.

Once the hinges were screwed in then I folded it into a square.
I made these specifically for the table setting, but wanted to be able to open it up and use them in the boys' rooms. I love how I was able to use them for two different purposes.

Tuesday, May 11, 2010

I "LOVE" my kids

I have been wanting to make one of these word picture collages (is there a correct name for it?) ever since Caitlynn passed away. I knew I had the perfect "O" picture of her that would work great and I would be able to include her in my collage. The weather here has not been cooperating, but a couple of days ago I was able to get the kids together and get these pictures FINALLY done and was able to put my collage together. I had to stick to a word that involved an "O" - therefore choosing the word "love". The pictures turned out cute, took awhile getting everyone to hold still but over all turned out good. I found a picture frame that worked perfect for $5.00, but it had the year 2010 in the middle of the matting, so I improvised and made my own matting.
I love how it turned out and gave one to each one of our mom's for Mother's day ( I will be seeing my mom this weekend and she will get hers). For my mom I was originally thinking of having each of my brother's and sister's do the same technique with there children and do one letter from each family spelling "Mother", (since there are six of us) but with us all living out of state I knew it would be really difficult, so I came up with another idea for my mom for Mother's day that will involve the other's (without them even knowing about it. he, he) and I will show you that one tomorrow.

Linking up to:


Visit thecsiproject.com

Tuesday, April 13, 2010

One More Stenciled Board

So in this post I gave you a little tease that I had a twist with my last stenciled board. Well, here it is!! I am so excited. It turned out so cute! I made my stenciled board . . .

And created this! I bought my frames from the dollar store and spray painted them black.
I drilled a hole in my plaque and in my frame. I put an eye screw in the plaque and then threaded my ribbon through the eye screw and then threaded my ribbon through the frame and then used my glue gun to glue the ends to the frame. I then tied a bow and glued it to the top of the frame. It was so easy, the thing that took the longest was gathering the pictures.
I love it and I have had this blank wall that I haven't known what to do with it until now and it fits in that "hole" perfectly.


Linking to:
Visit thecsiproject.com


Saturday, February 13, 2010

Photo Frame Collage

I got my inspiration here and created my own version.

I bought my frames from the thrift store and the dollar store. The frames all have different designs and I used different size frames. I took the glass out of each frame and spray painted them black.


I used the same cardboard piece that the large frame came with and covered it with burlap, I then arranged my frames on the burlap and then used my glue gun to attach the frames to the burlap.

I then stenciled the word "family" to my burlap.

Then glued the clips to the burlap and added my pictures. Love how it turned out.


Linking to:
Visit thecsiproject.com