 A pocket is created after putting the book together to slide birthday cards into. I love that I can write down every one's birthday on the designated day, have a card already made and in each months pocket.


 It was SOOOO easy to make.
 A pocket is created after putting the book together to slide birthday cards into. I love that I can write down every one's birthday on the designated day, have a card already made and in each months pocket. It was SOOOO easy to make.
 You will need six bills - it could be what ever amount, it could be all ones, all fives, all tens or a mixture of each, whatever you prefer. I used 2-fives and 4-ones.
 I cut 4 1/4" x 5 1/2" piece of card stock with a 1" x 2 1/8" addition for the collar, this will be the base to adhere the money to.
 Take your first bill and fold it with the edges meeting in the middle. Fold the white ends in.
 Turn the bill over and adhere it to your base. I didn't use strong adhesive, so that it won't ruin the money when disassembling.
 Do the same step for the other side.
 Now take two more bills and fold them in half.
 Place these in the middle of the shirt.
 Now take another bill and fold it in half and then fold it to look like a collar.
 Adhere it to the base. Take your last bill and fold it in half and wrap around the back and to the front, creating cuffs. (When I wrapped mine around, I did it inside of the base.)
 Now add ribbon - which I just tied a bow towards the end of the ribbon and tucked the extra piece under the long piece of the tie, cut the other end to look like a tie. Added buttons to the collar and cuffs. You could put buttons down the shirt, But my son didn't want to do that part. There you have it, I think it's so fun and I know that my son is going to have fun giving this to his dad on Father's day.
 Linking to:
 You can get a free pattern here. The download pattern is not the same one I used and is a little bit smaller. For the pattern shown it is a 5 1/2" x 8 1/2" sheet of card stock. Score horizontal - 2 1/4", 4 1/8", 6 3/8" and 8 1/4". Turn the card stock vertical and score - 1", 3 3/4" and 5". The 1" line that was scored - cut making slits and cut the rectangle completely out. Picture shown below - hope that all made sense.
 Side view of the milk carton. The bird perch was made by punching a small hole and rolling paper and inserting the paper into the punched hole. I think they turned out really cute.
 We made them so you don't have to ruin the milk carton to get into the treat. I punched a slit at the bottom of the box, then punched a tag and glued the tag to the opposite flap and then the tag slides into the slit. I love how you don't have to ruin the box to get the treat the flap can open and shut.
 Open up the bottom and get your yummy candy.
 And then close the bottom until you need another treat.
 Cute idea, I want to make more for gift giving.


 We then made a few things using paper punches. This flower is made of nine 1" circle punches.
 Punch nine circles.
 Fold eight of them.
 Glue the eight folded circles the the last circle.
 This is what it will look like when all of them are glued.
 I punched a small flower for the center added a brad and cut out leaves, glued them on and now I have a cute flower to put on a card or add to a scrapbook page.
 This purse was also made from punches.
 Punched a out a label tab.
 You can either cut it in half or fold it in half. I cut mine in half.
 Cut them both in half.
 Assemble purse. This would also look cute on a card or a scrapbook page.
 Supplies: 1 sheet 12 x 12 card stock, 1 sheet pattern paper, 18" of ribbon, strong adhesive and other embellishments you would like to use.
 I attached a piece of ribbon on top of my folio, by punching a hole on the bottom of the flap and then put my ribbon through, brought it around the front and tied it. Now decorate and fill with cards.
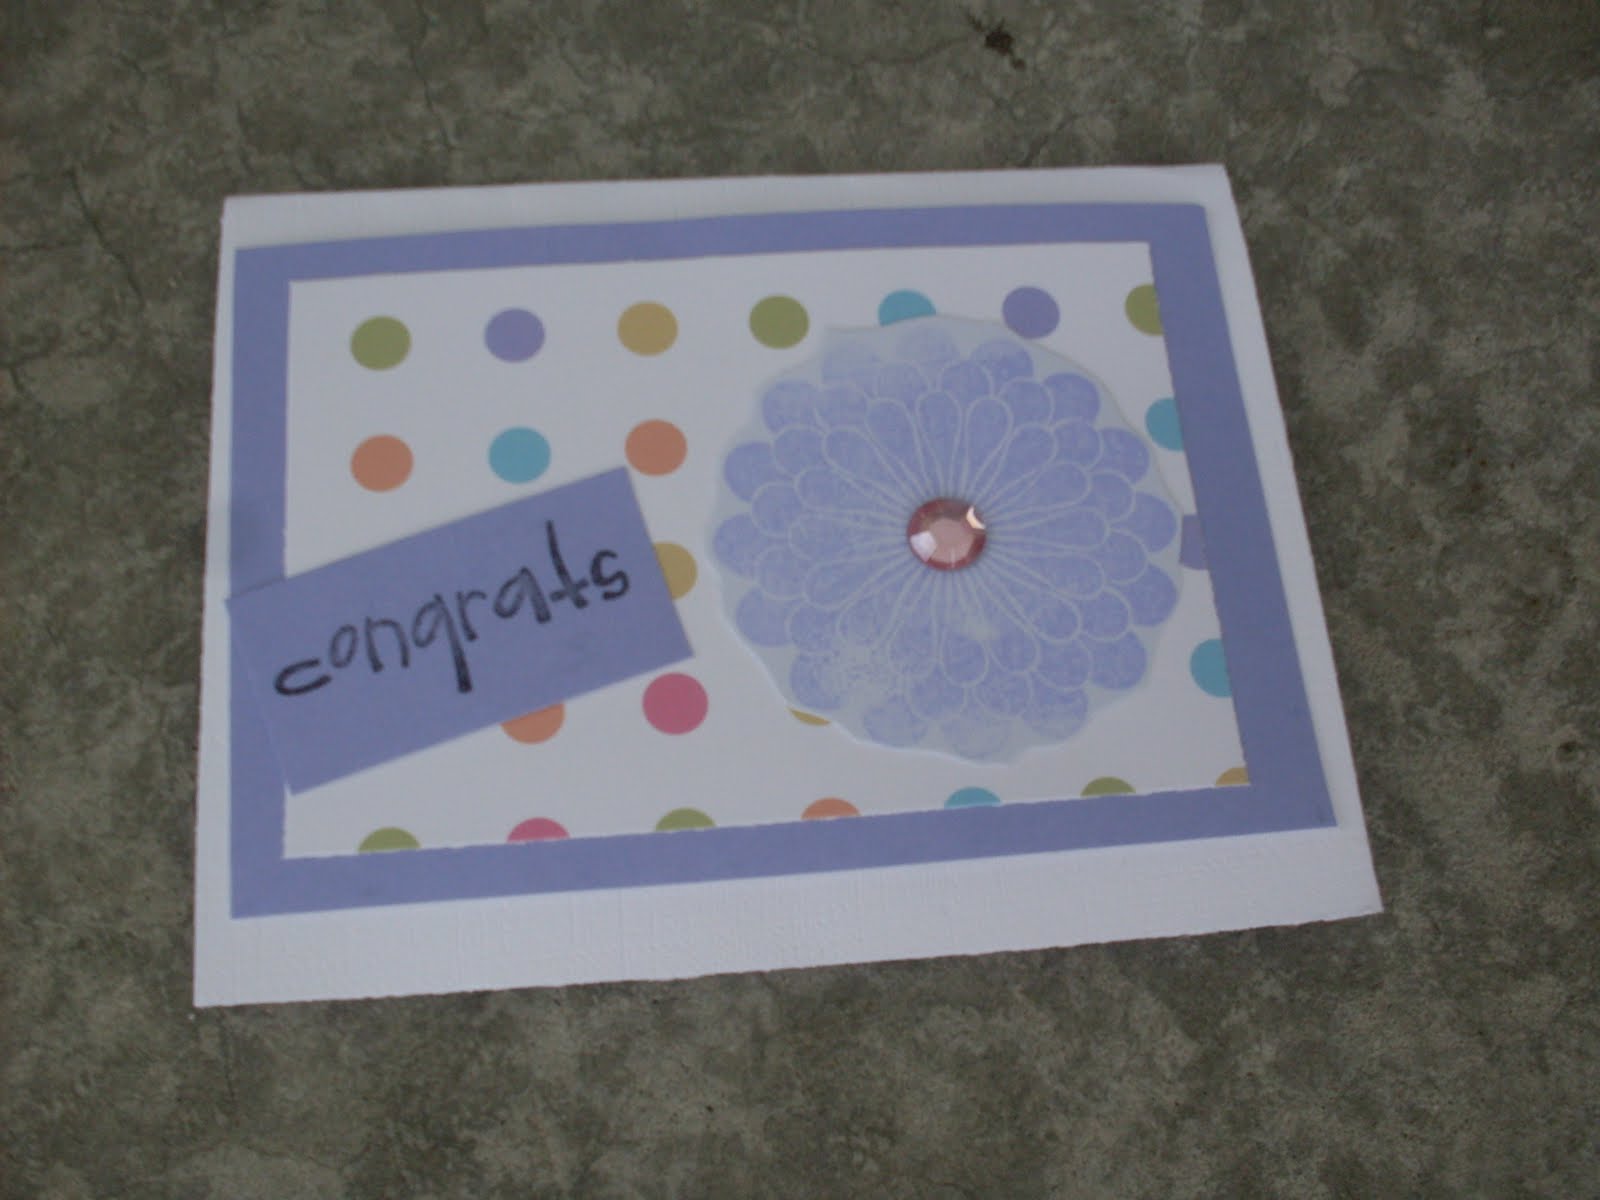
 These are some of the cards I made. (Actually Jr. Critter, made most of them, while I made the folio.
 Each card individually.


 I made a few other Mother's Day gifts that I will be showing you in the next couple of days. (Now that I have given the gifts, I can actually show them - well, with the exception of my mom, I will be seeing her this weekend, so mom if you get on here before this weekend don't look).


