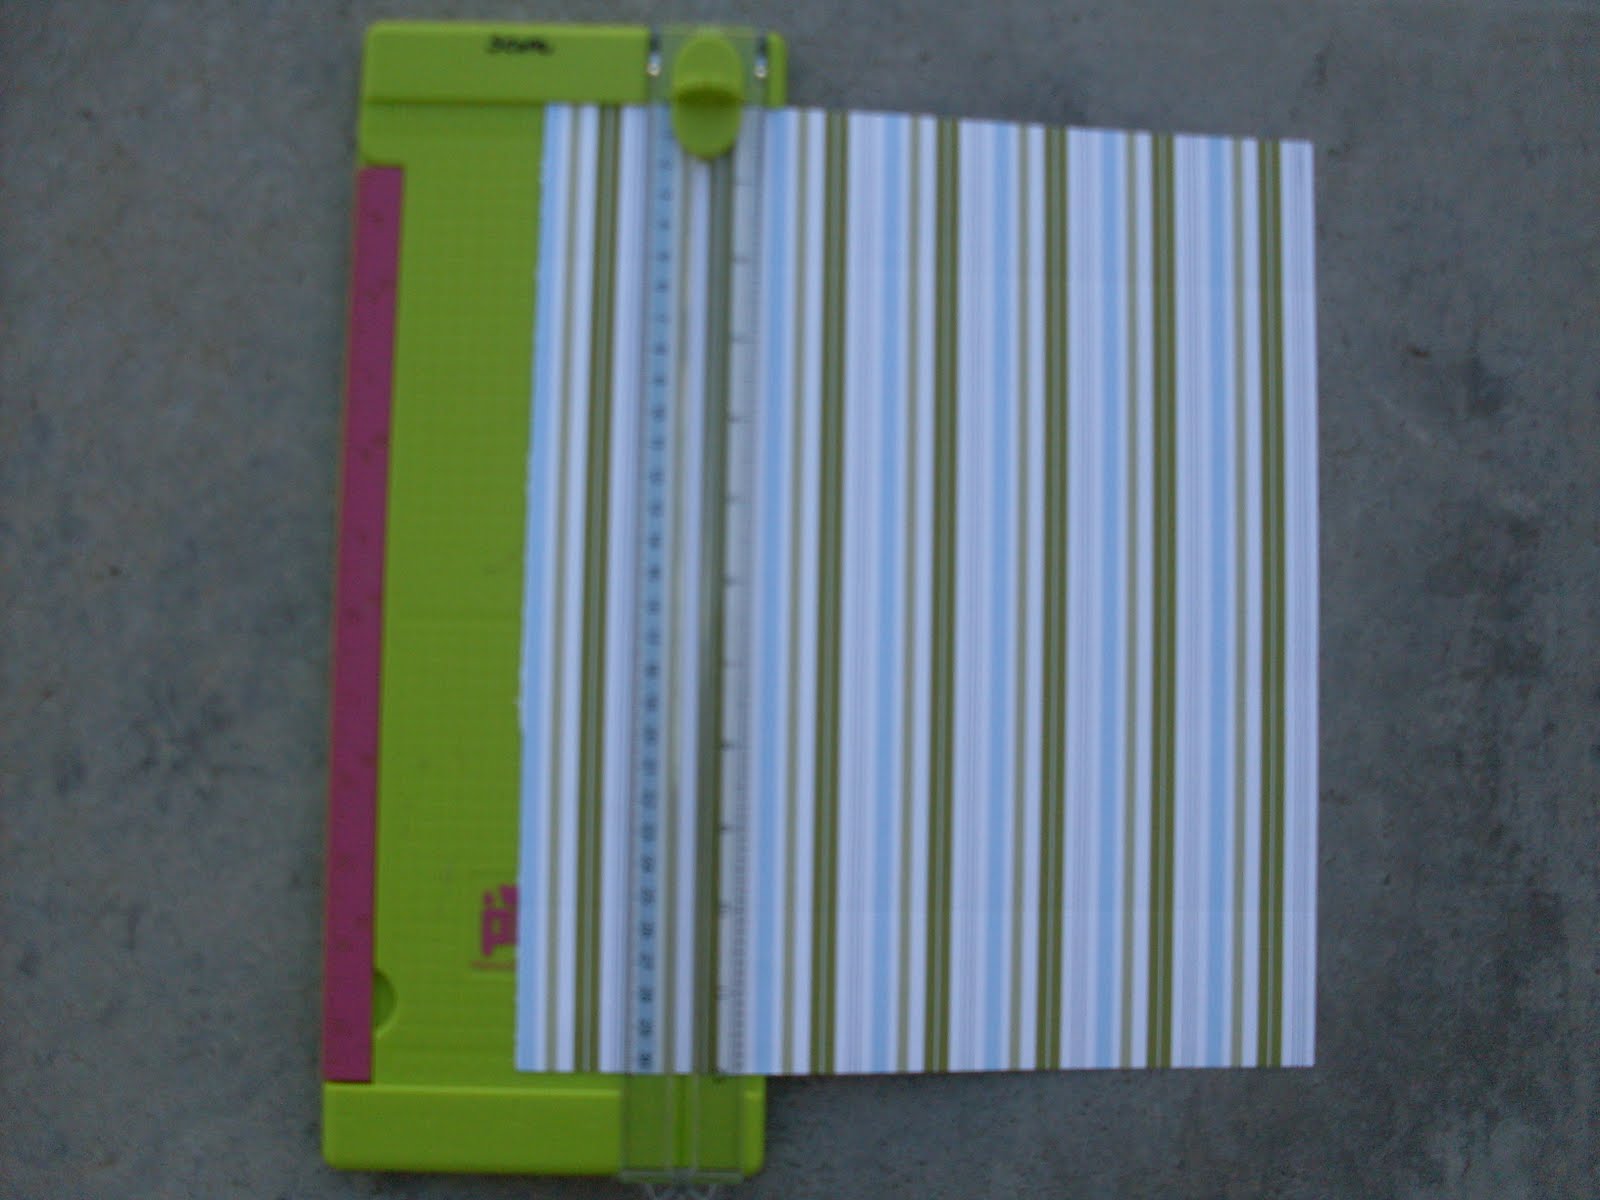
To make the cup cake box, you will need three 12" x 12" pieces of card stock and 1 piece of patterned paper. For Base of box cut card stock 10 1/2" x 10 1/2" score 3" on each side. Put adhesive on all four flaps and assemble.
 Using pattern paper cut - 4 pieces at 4 1/4" x 2 3/4".
Adhere pieces to the inside of the box.
 For the lid, use second piece of card stock and cut 8" x 8" and score at 1 11/16" (1-5/8" plus one line). From patterned paper cut four pieces at 4 1/2" x 1-9/16" (1-1/2" plus one line) adhere to the outer flaps of box.
 Cut circle in the middle of the box. I didn't have any tools for this, so I just traced around a glass and cut it out. Cut acetate large enough to cover the hole, adhere acetate inside the lid.
 For the insert use third piece of card stock and cut it 6 1/2" x 6 1/2" score at 1" on each side. Cut out the corners where you've scored. Cut out a circle, I used a bottle lid, traced and cut.
 Slide insert into the base of the box. Add your cupcake and you have the perfect gift.

 Kelsey is going to make a cupcake and put it in the box. It's a little early to make the cupcake, but I thought it was funny the day that we made this box we received our family fun magazine and saw this next picture, how awesome and perfect timing is that! Kelsey is going to try and do this for the cupcake to put in the box. How fun will that be?!!! We totally have a barbecue theme going, was not intentional, but I think we are going to make it a big barbecue day and incorporate the "new theme."


 For the lid, use second piece of card stock and cut 8" x 8" and score at 1 11/16" (1-5/8" plus one line). From patterned paper cut four pieces at 4 1/2" x 1-9/16" (1-1/2" plus one line) adhere to the outer flaps of box.
 Cut circle in the middle of the box. I didn't have any tools for this, so I just traced around a glass and cut it out. Cut acetate large enough to cover the hole, adhere acetate inside the lid.
 For the insert use third piece of card stock and cut it 6 1/2" x 6 1/2" score at 1" on each side. Cut out the corners where you've scored. Cut out a circle, I used a bottle lid, traced and cut.
 Slide insert into the base of the box. Add your cupcake and you have the perfect gift.
 Kelsey is going to make a cupcake and put it in the box. It's a little early to make the cupcake, but I thought it was funny the day that we made this box we received our family fun magazine and saw this next picture, how awesome and perfect timing is that! Kelsey is going to try and do this for the cupcake to put in the box. How fun will that be?!!! We totally have a barbecue theme going, was not intentional, but I think we are going to make it a big barbecue day and incorporate the "new theme."